
What should you do immediately when your sump pump fails?
When your sump pump fails, immediately prioritize personal safety: do not enter standing water if it reaches electrical wall outlets or appliances. Shut off basement power at your main breaker if dry and accessible. Next, identify the failure cause (power outage, stuck float, or tripped breaker). Take clear photos and videos of the standing water and pump for insurance documentation. If safe, deploy a temporary utility pump, elevate valuables, and immediately call an emergency restoration company at (888) 846-0214 to extract water and begin structural drying before mold colonizes within 24–48 hours.
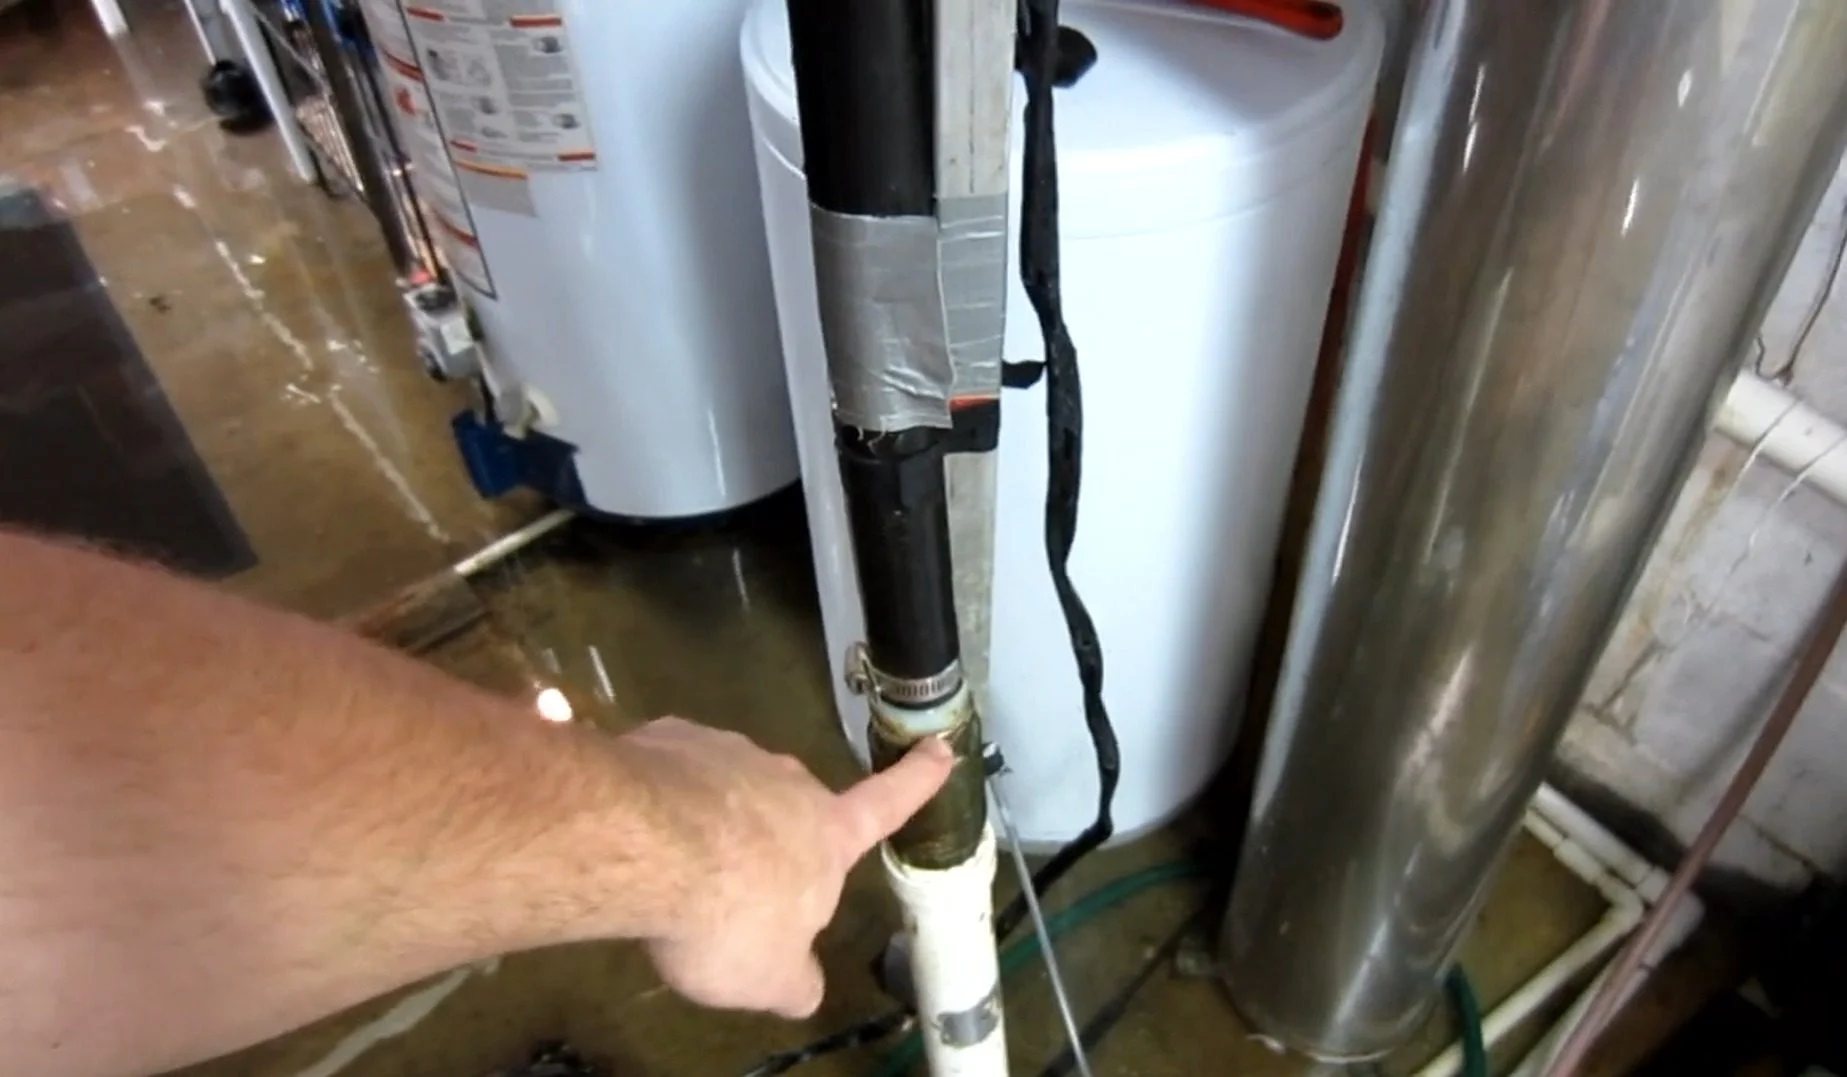
STAGE 1: FIRST 10 MINUTES — SAFETY & POWER ISOLATION
1. Never Step into Electrified Water
Water conducted through concrete basements can carry lethal electrical currents if it touches submerged power strips, extension cords, laundry appliances, or low wall receptacles.
- If your main electrical panel is located in the basement and standing water surrounds it, DO NOT attempt to wade over to it. Contact your local utility (ComEd: 1-800-334-7661 or Ameren Illinois: 1-800-755-5000) or an emergency electrician.
- If the electrical panel is upstairs or in a dry garage, switch off the individual circuit breakers labeled "Basement," "Sump Pump," and "Furnace/Laundry."
2. Check for Natural Gas Leaks
If water levels have risen above the burners of your water heater, boiler, or furnace, the pilot light or electronic ignition may have extinguished while gas continues to supply. If you smell rotten eggs (mercaptan sulfur), evacuate the house immediately and dial 911.
3. Put on Personal Protective Equipment (PPE)
Sump overflow is Category 2 (Gray Water). Wear waterproof rubber boots, heavy work gloves, and avoid touching your face, mouth, or eyes while handling items submerged in groundwater runoff.
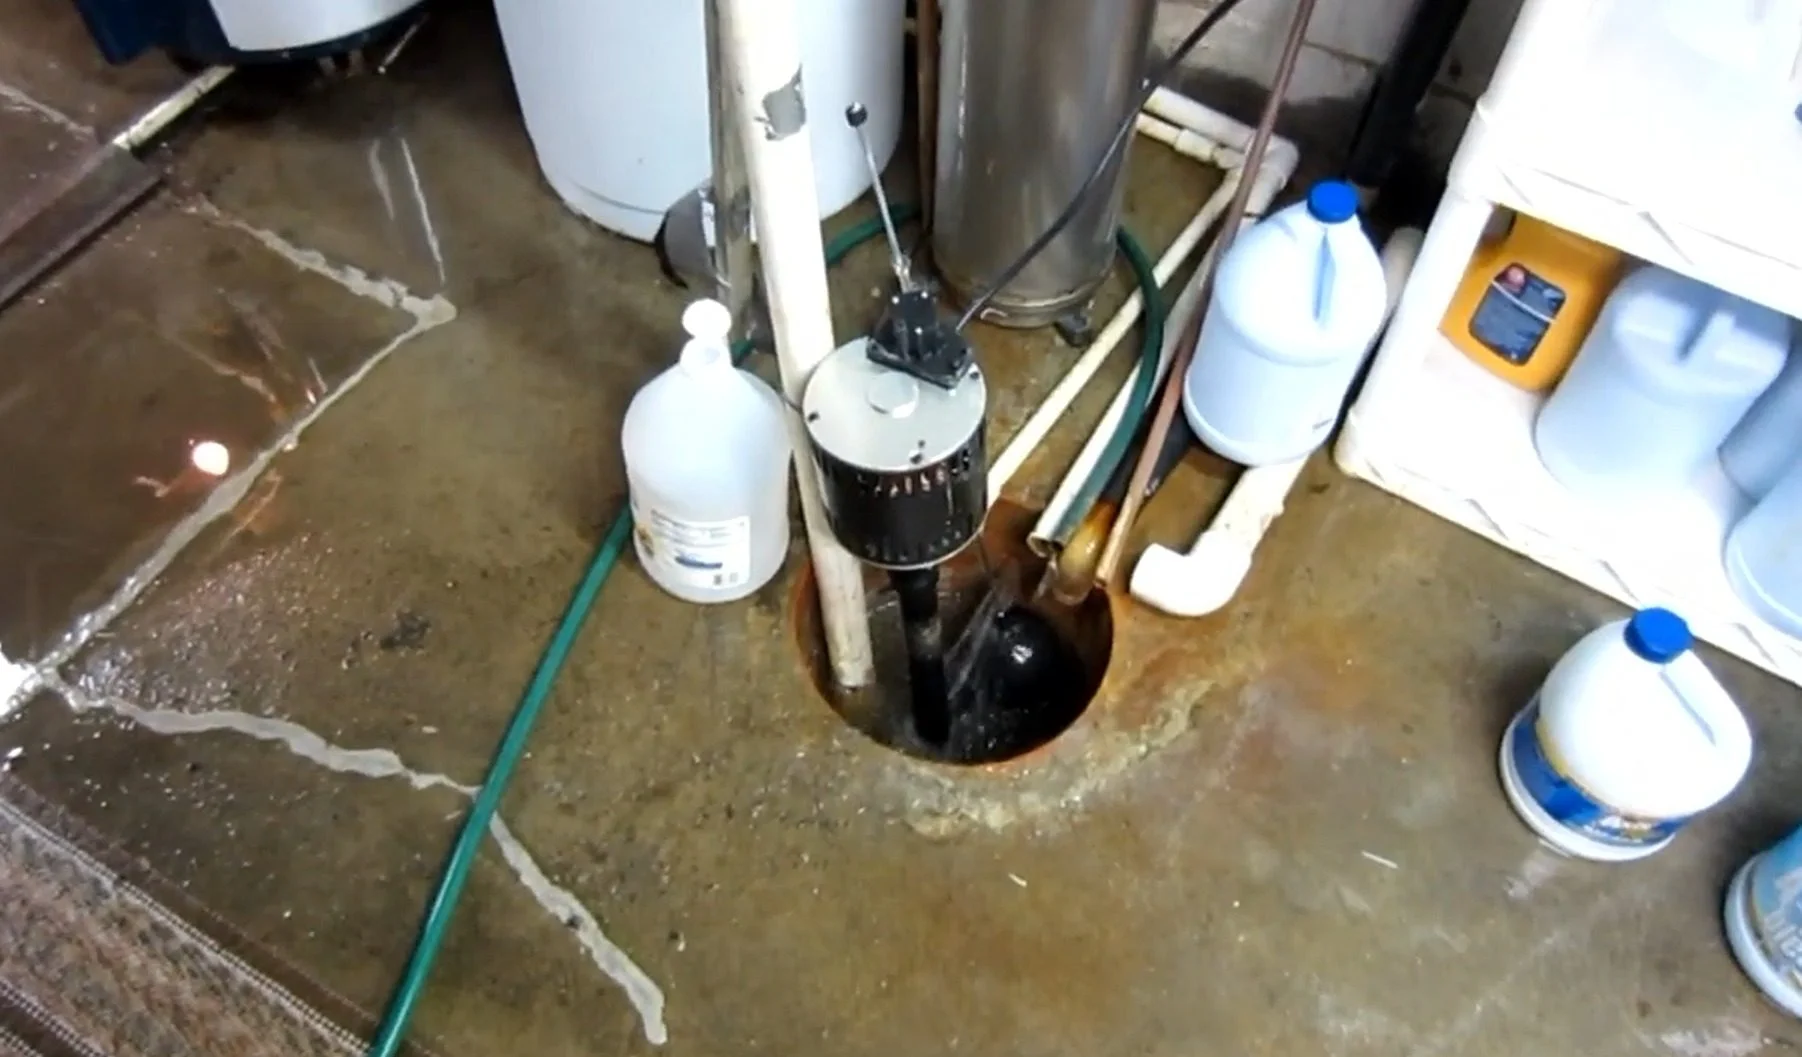
STAGE 2: 10 TO 30 MINUTES — PIT DIAGNOSIS & TEMPORARY CONTAINMENT
Can You Get the Pump Working Right Now?
Before panic sets in, check the four most common quick-fix mechanical issues:
1. The Stuck Float Switch Check
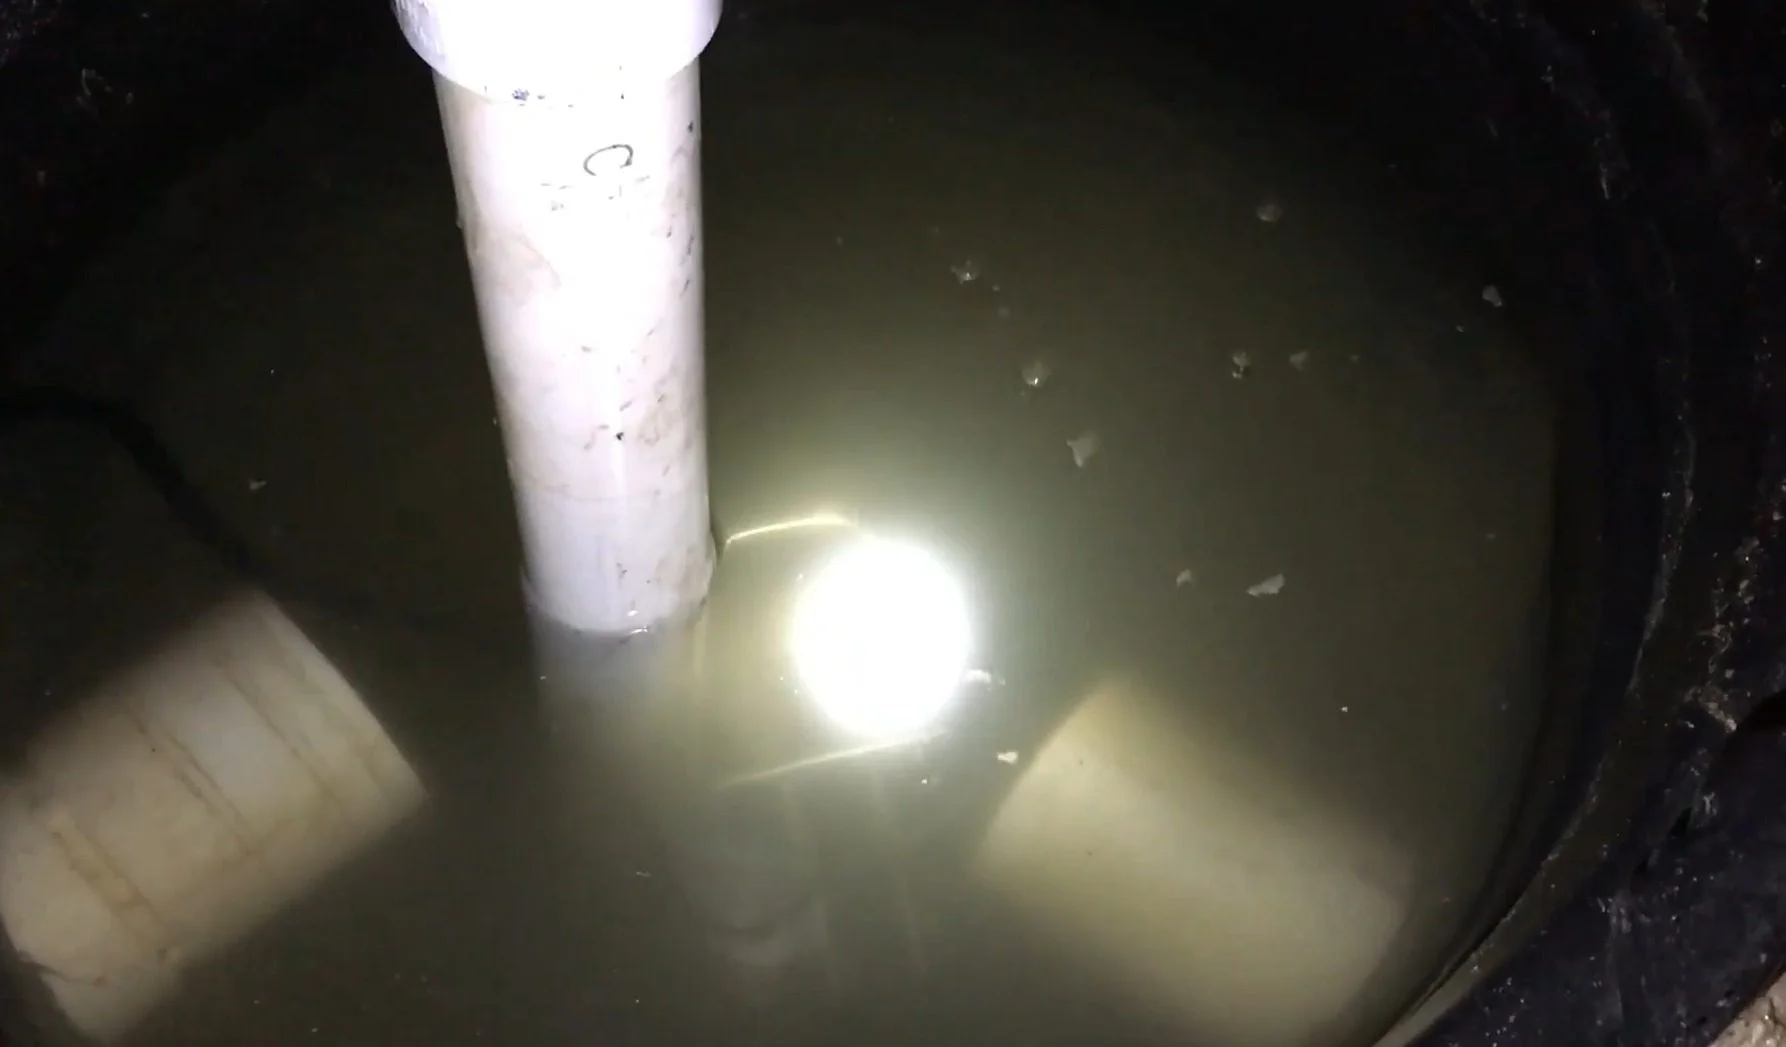
Using a broom handle or wooden dowel, gently tap the float switch inside the sump basin. If the pump immediately turns on and begins pumping water out, the float was simply stuck against the side wall. Reposition the pump in the center of the pit so the float can freely rise and fall.
2. The Power Supply & GFCI Check
Check if the pump is plugged into a GFCI outlet. Lightning strikes and power flickers frequently trip GFCI reset buttons. Press the "RESET" button firmly. If the pump still doesn't engage, test the outlet by plugging in a small work light or phone charger. If the outlet is dead, run a heavy-duty 12-gauge extension cord from a known working circuit on an upper floor to the pump.
3. The Impeller Jam Check
Unplug the pump from power. Reach down into the pit and check the bottom intake screen. If loose gravel, construction debris, or thick clay sediment is lodged in the base, clear it out by hand and plug the pump back in.
4. The Backup Pump Activation
If you have a battery backup system installed, check the control box. If the alarm is beeping, confirm whether the battery is dead or if the backup pump's separate float switch is caught. Manually lift the backup float switch to verify if the 12V pump engages.
STAGE 3: 30 TO 60 MINUTES — INSURANCE & INVENTORY DOCUMENTATION
How to Document the Flood Before Changing Anything
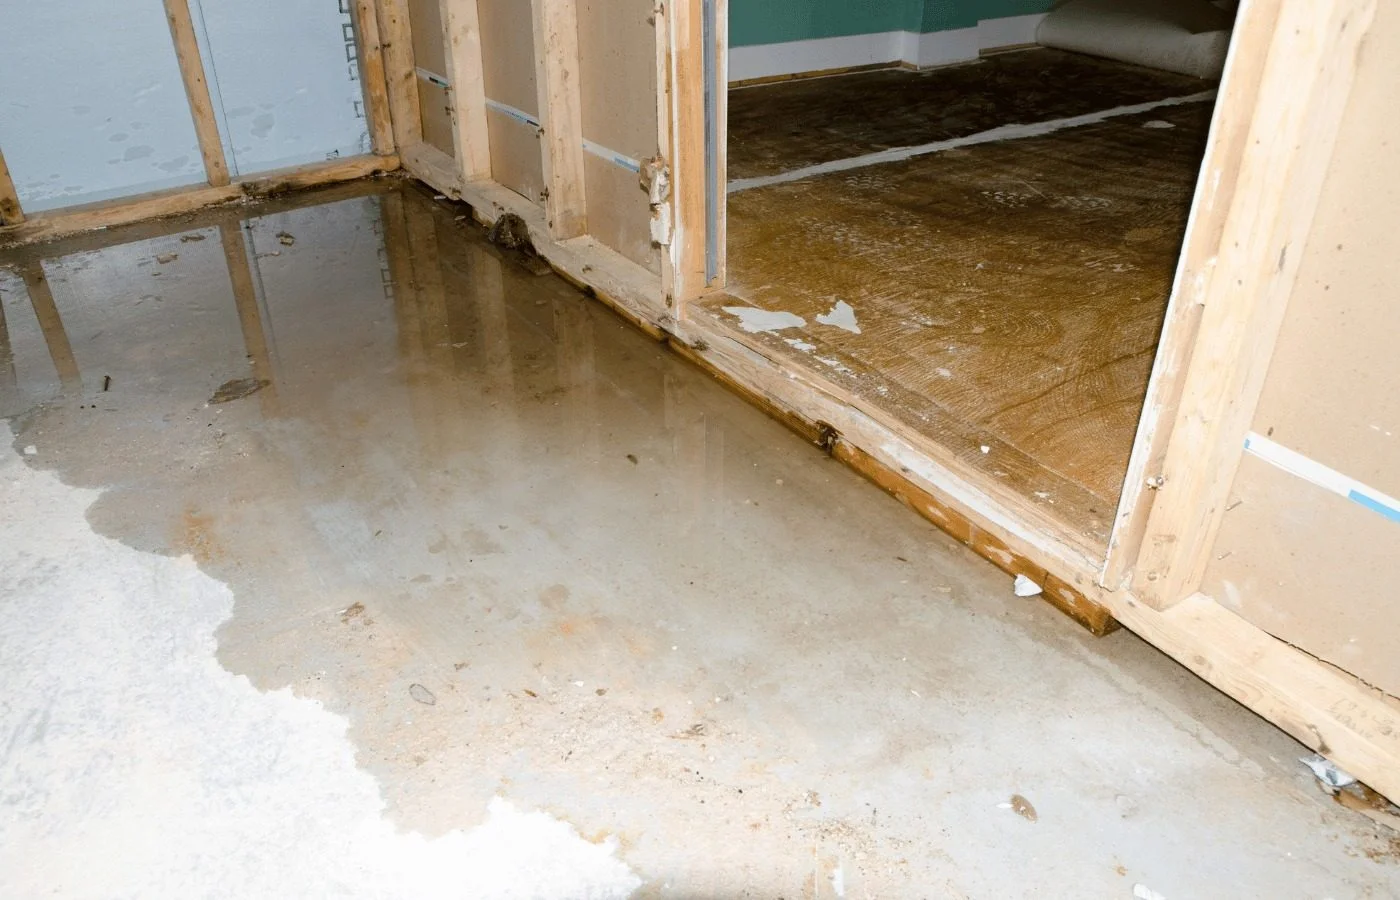
Insurance adjusters require indisputable visual proof that the damage was caused by a sudden, accidental sump pump failure rather than long-term foundation seepage.
- Take at least 25 high-resolution photos from all angles of the basement.
- Do not discard expensive electronics or appliances until the insurance adjuster has inspected them or your restoration contractor has completed a formal itemized disposal log.
What Building Materials & Personal Belongings Can Be Saved?
| Item Type | Salvageable? | Action Required |
|---|---|---|
| Poured Concrete & Masonry Walls | Yes (100%) | Extract surface water; apply antimicrobial wash; structural LGR dehumidification. |
| Solid Wood Framing & Studs | Yes (Usually) | Can be dried in place if moisture levels drop below 15% within 4 days. |
| Drywall & Baseboard Trim | No (Rarely) | Must be flood-cut 12 to 24 inches above the water mark; wet gypsum harbors hidden mold. |
| Fiberglass Insulation | No (Never) | Loses R-value permanently and retains bacteria; remove and discard. |
| Carpet & Foam Padding | Partial | Foam padding must always be tossed; commercial carpet can sometimes be sanitized and saved. |
| Electronics & Submerged Furnaces | Inspection Req. | Must be fully inspected and certified by an HVAC technician before re-energizing. |
| Cardboard Boxes & Mattresses | No (Discard) | Porous organic materials soaked in Category 2 water cannot be safely sanitized. |
Why Professional Extraction Beats DIY Cleanups Every Time
Homeowners frequently ask: "Can I just rent a shop vac and buy a few fans from Home Depot?"
While a shop vac removes surface puddles, it cannot solve the core disaster:
- Bound Moisture: Water wicks upward inside drywall cavities and wooden studs via capillary action, reaching heights 2 to 3 times higher than the floor waterline.
- Concrete Porosity: Concrete slabs are porous like sponges. Without industrial desiccant or LGR dehumidifiers pulling moisture out under specific vapor pressure differentials, damp concrete will sweat for months, destroying future flooring installations.
- The 48-Hour Mold Rule: According to EPA guidelines, toxic mold (Stachybotrys chartarum and Aspergillus) germinates within 24 to 48 hours on damp organic substrates.